Do you want to enjoy movies and videos on your favorite Zune? Pavtube Video to Zune Converter is a perfect Zune video converter for you to transfer videos to Zune videos. This guide will show you how to operate this converter step by step.
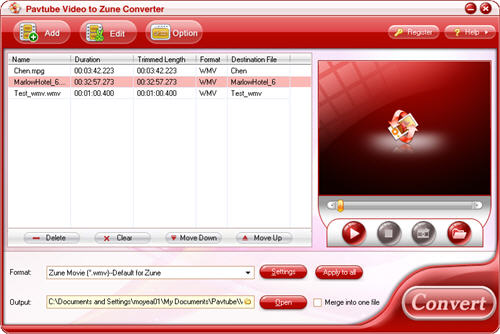
Step 1: Download and install Pavtube Video to Zune Converter, you will see the main interface as below.

Step 2: Import video files
To load video files into this program, please click “Add” button and you will see this interface as below.
Step 3: Set the output format, output path and merge multiple files
Click the “Format” drop-down list to select the format you prefer for each added file. And you can change the destination folder by checking the drop-down profile.

Step 4: Set advanced settings
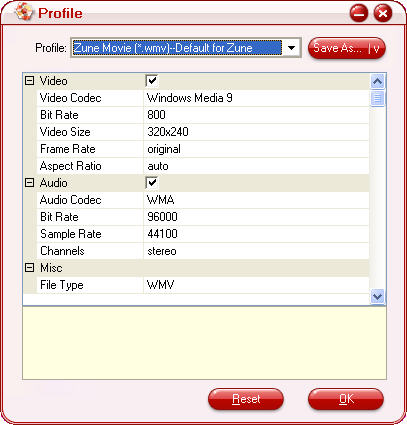
If you want to set the output quality, click the “Settings” button to open the Settings panel, where you can change the video codec, video bit rate, video frame rate, audio codec, audio bit rate, etc.
Step 5: Editing function
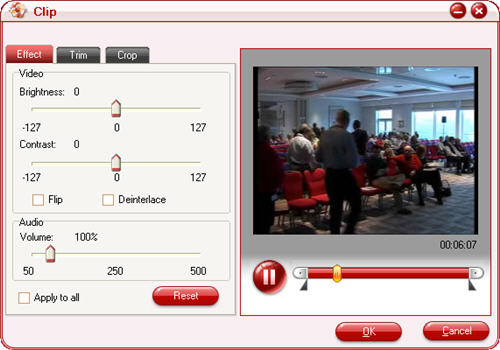
Click “Edit” button, if you want to customize the video. You can customize the brightness, contrast and video volume by dragging the slider bars under tab “Effect”. In addition, you can trim and crop the video by click tag “Trim” and tag “Crop”.
Step 6: Take a preview and snapshot
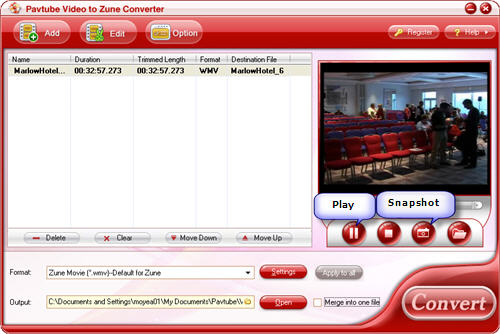
If you want to have a preview of the movie, you only need to click the “Play” button or double click on the file. Moreover, if you want to save some your beloved pictures, you can click the “Snapshot” button to take a snapshot.
Step 7: Convert
When you finish all the necessary settings, you can click the “Convert” icon at the bottom of the window to start converting the file. Click “Cancel” button to cancel the process required.
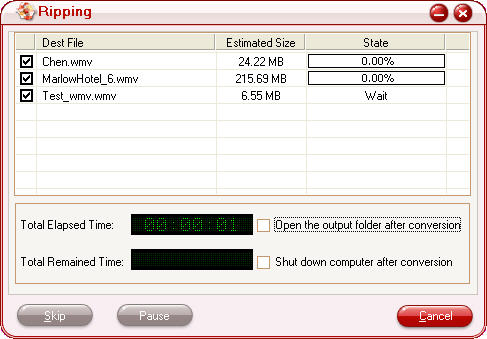
Ok, you can let the converter do the conversion, and get the output video files for your Zune.

 Home
Home Free Trial Video Converter


