Do you want to enjoy movies and videos on your favorite cell phone? It is necessary to convert DVD to 3GP format if you want to watch DVD movies and videos on your cell phone. This guide will show you how to successfully transfer DVD to 3GP with Pavtube DVD to 3GP Converter in detail.
Step 1, Download and install this program, the main interface will pop up
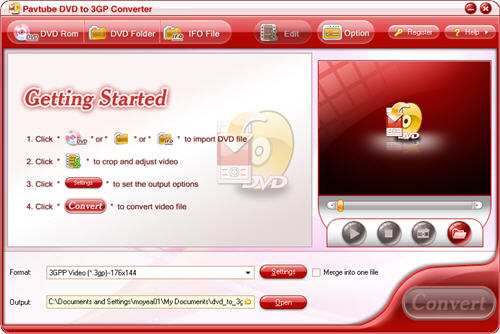
Step 2, Import DVD files
Add DVD files from the DVD disc or DVD folder with IFO and VOB files by clicking any button of the DVD Rom, DVD Folder or IFO File.
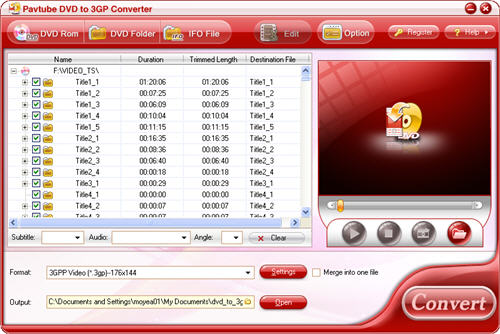
Step 3, Preview and take snapshot
If you want to have a preview of the whole movie, you can click the button “Play” or double click the file name. Then you can make a decision about the files to convert. If you want to save some images for future use or other needs, you can click the “Snapshot” button.
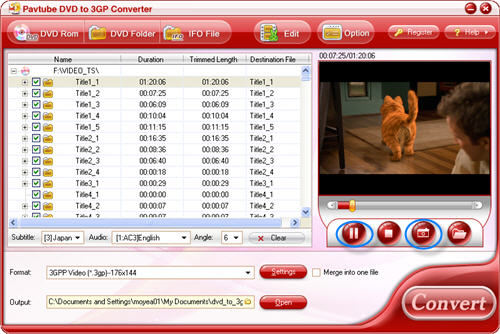
Step 4, Change subtitle, audio and angle
If the DVD movie includes subtitle and audio track with more than one language, you can select the language you need by clicking the option box.
![]()
Click the button “Clear”, you can remove all the input files.
Step 5, Set output format, output path and merge multiple files
Select the output format you need from the drop-down menu of “Format”. Specify the output path by clicking the folder button.

If you want to combine a lot of files together to enjoy them without any interruption, you can check the option on the main interface “Merge into one file”.
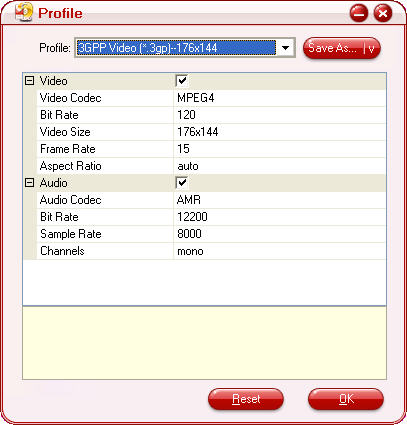
Step 6, Set advanced settings
You can change the settings like video codec, bit rate, video size, audio codec sample rate, etc by clicking button “Settings”.
Step 7, Edit
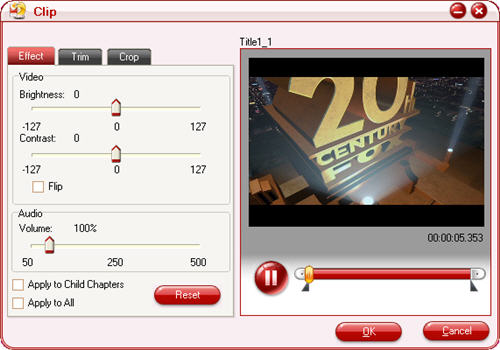
Click button “Edit” and you can adjust video effects like brightness, contrast, audio, volume and so on; you can also trim the video clips, cut off the black edges by clicking buttons “Trim” and “Crop”.
Step 8, Preferences settings: thumbnail and max process
You can change the preference settings of all files, after choosing Option > Preference
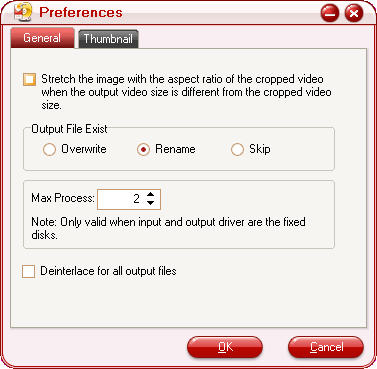
Set the ripper to overwrite the existing file on the output folder, rename the output file, or skip the conversion of the file with the same name.
Change the Max Progress, if the source DVD from a DVD folder on your hard disk, rather than a DVD on the DVD-ROM, the output folder is a folder on your hard disk, not a portable device.
Under the “Thumbnail” tab, you can set the size and the default output format and output folder of the snapshots.
Step 9, Convert
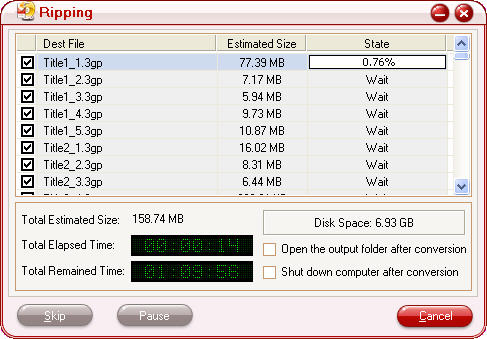
If all settings are ready, you can click the button “Convert”, and the checked files will be listed on the “Ripping” window for conversion.

 Home
Home Free Trial DVDAid


